For the Wall

Great Blue Heron
Image ID: 1138 - Chesapeake, VA

Fall Colors at Cavalier Industrial Park
Image ID: 1137 - Chesapeake, VA

Sunset at Dockside
Image ID: 1122 - Virginia Beach VA - November, 2025

Ring-billed Gull
Image ID: 1120 - Virginia Beach VA - November, 2025
")
Osprey (Fish Hawk)
Image ID: 1118 - Virginia Beach VA - November, 2025
")
Northern lights (aurora borealis)
Image ID: 1102 - November 12, 2025 - Virginia Beach VA

Bald Eagle
Image ID: 1071 - Va Beach, VA - October 2025

Soft Landing
Image ID: 1031 - Chesapeake Bay, Va Beach, VA - September 2025

Bald Eagle
Image ID: 1030 - Va Beach, VA - September 2025

Brown Pelican Diving for Fish
Image ID: 1029 - Va Beach, VA - October 2025

Brown Pelican Diving for Fish
Image ID: 1028 - Va Beach, VA - October 2025

Brown Pelican Diving for Fish
Image ID: 1027 - Va Beach, VA - October 2025

Great Blue Heron
Image ID: 1026 - Va Beach, VA - October 2025

Bald Eagle
Image ID: 1025 - Va Beach, VA - October 2025

Blueberry Field
Image ID: 1023 - Maine – October 2025
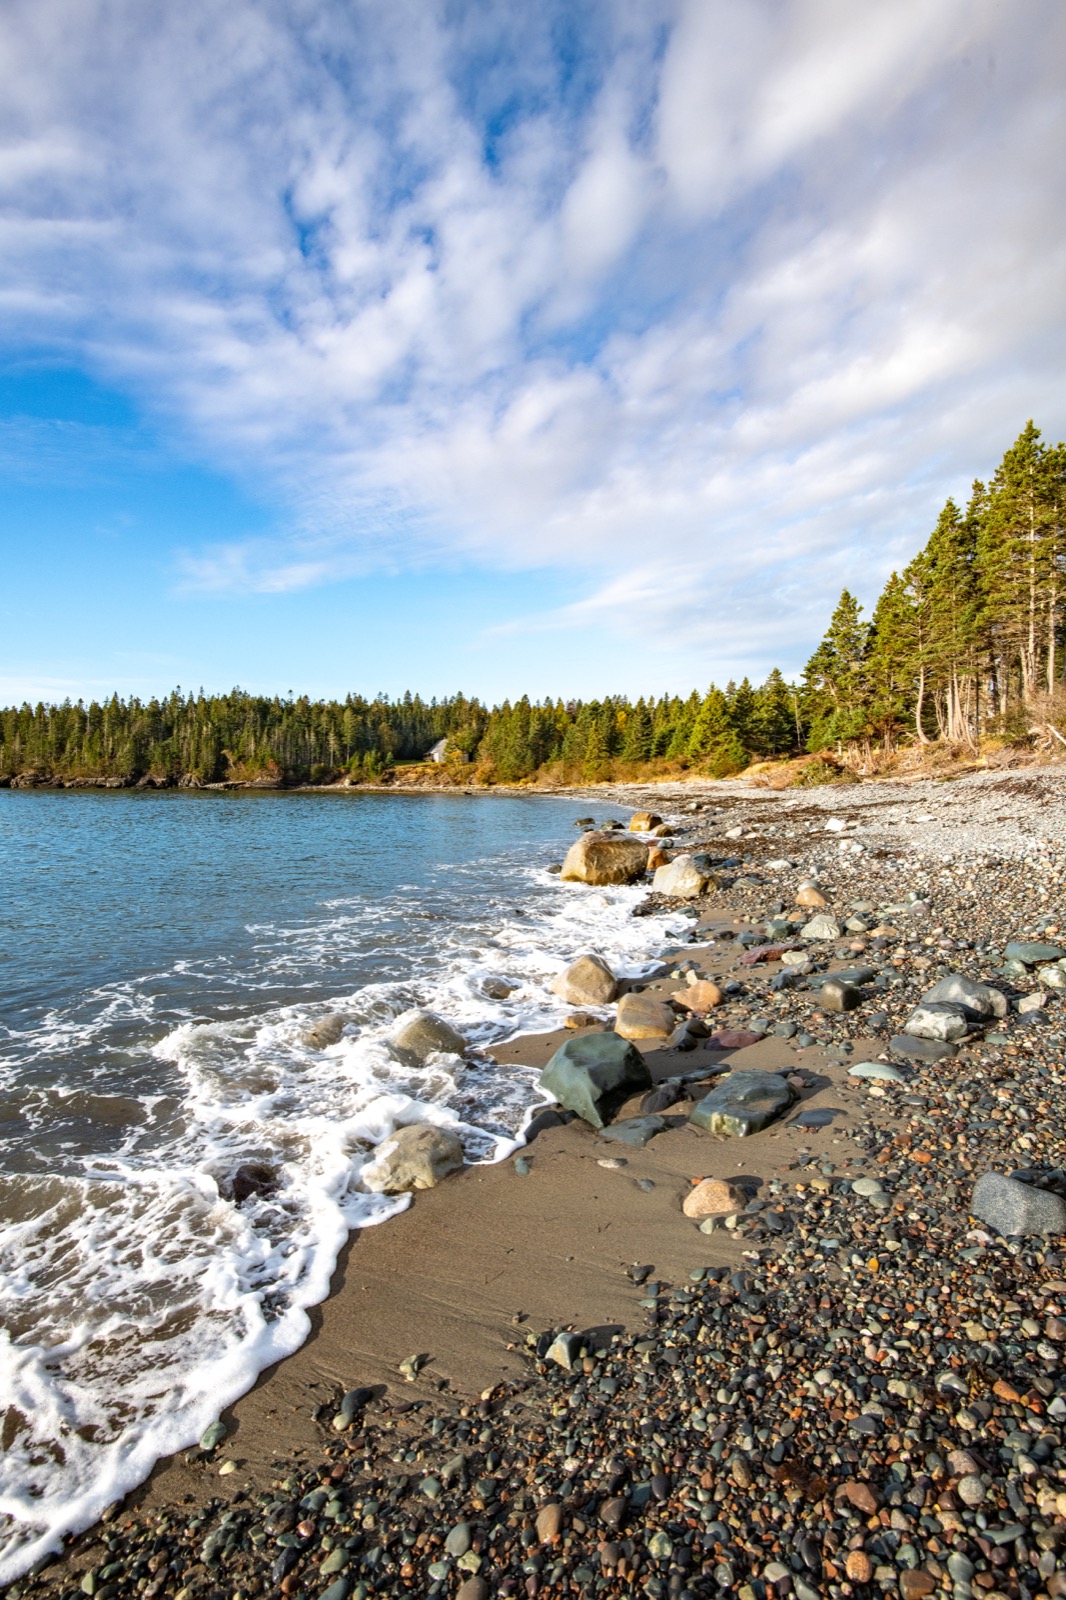
Image ID: 1019 - Roque Bluffs, Maine - October 2025
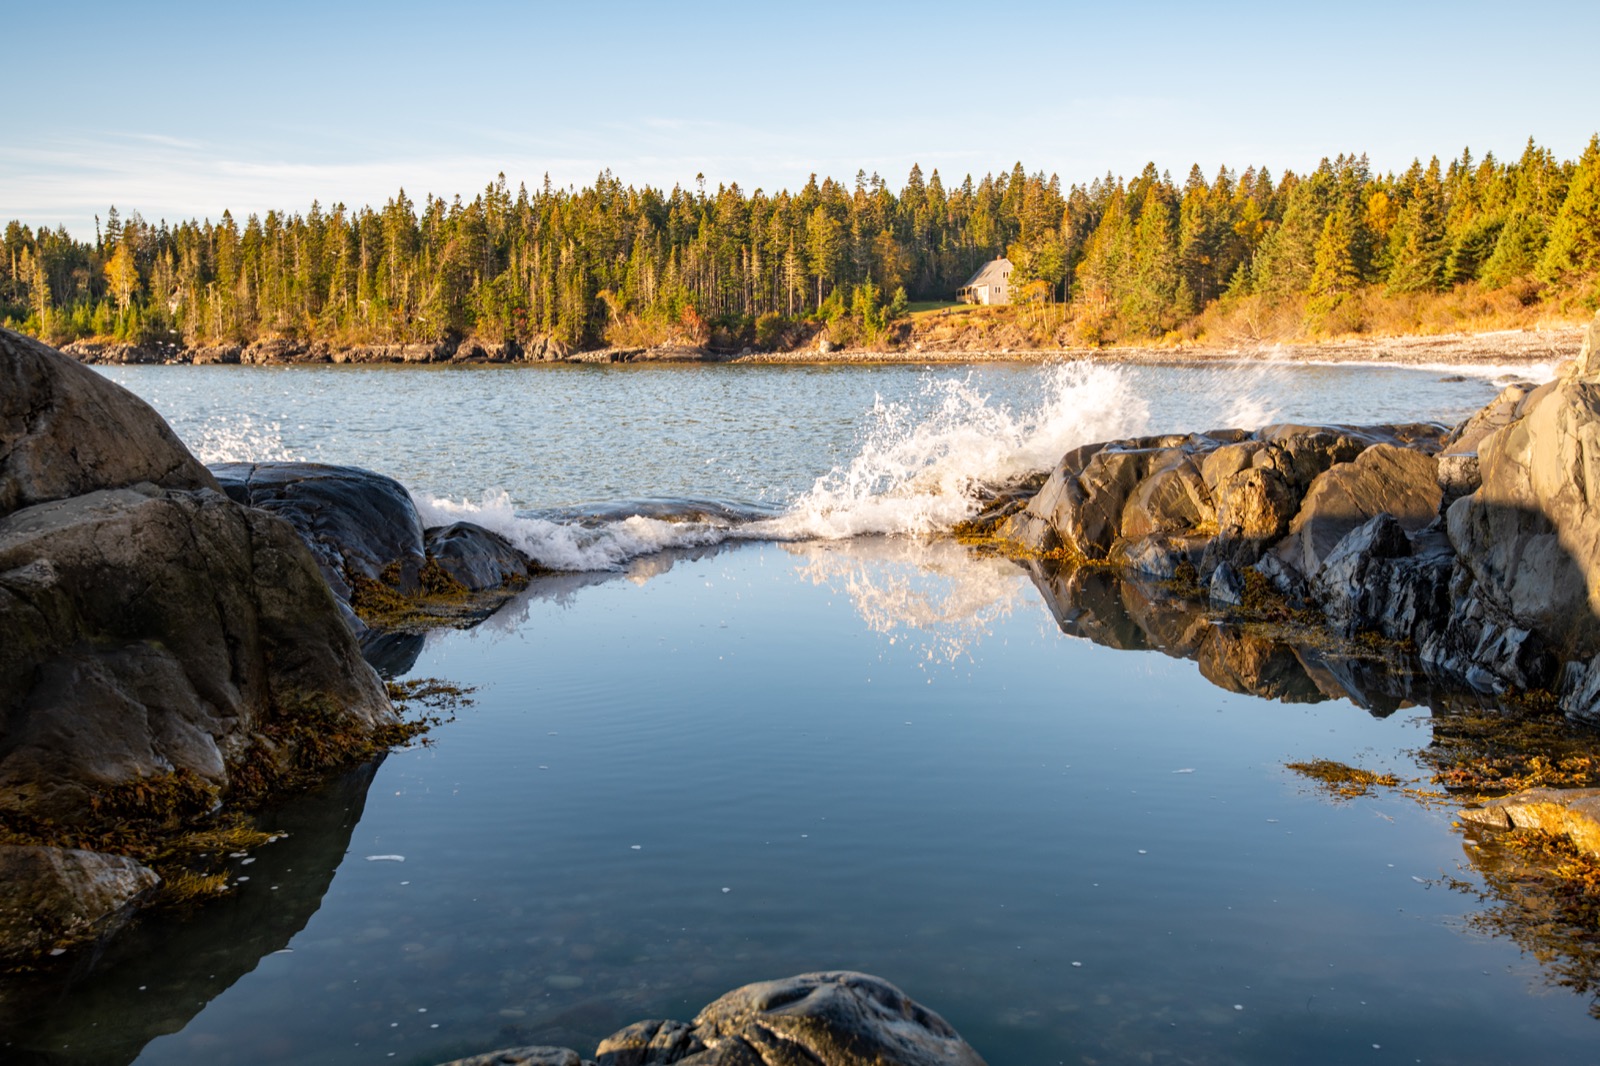
Image ID: 1018 - Roque Bluffs, Maine - October 2025
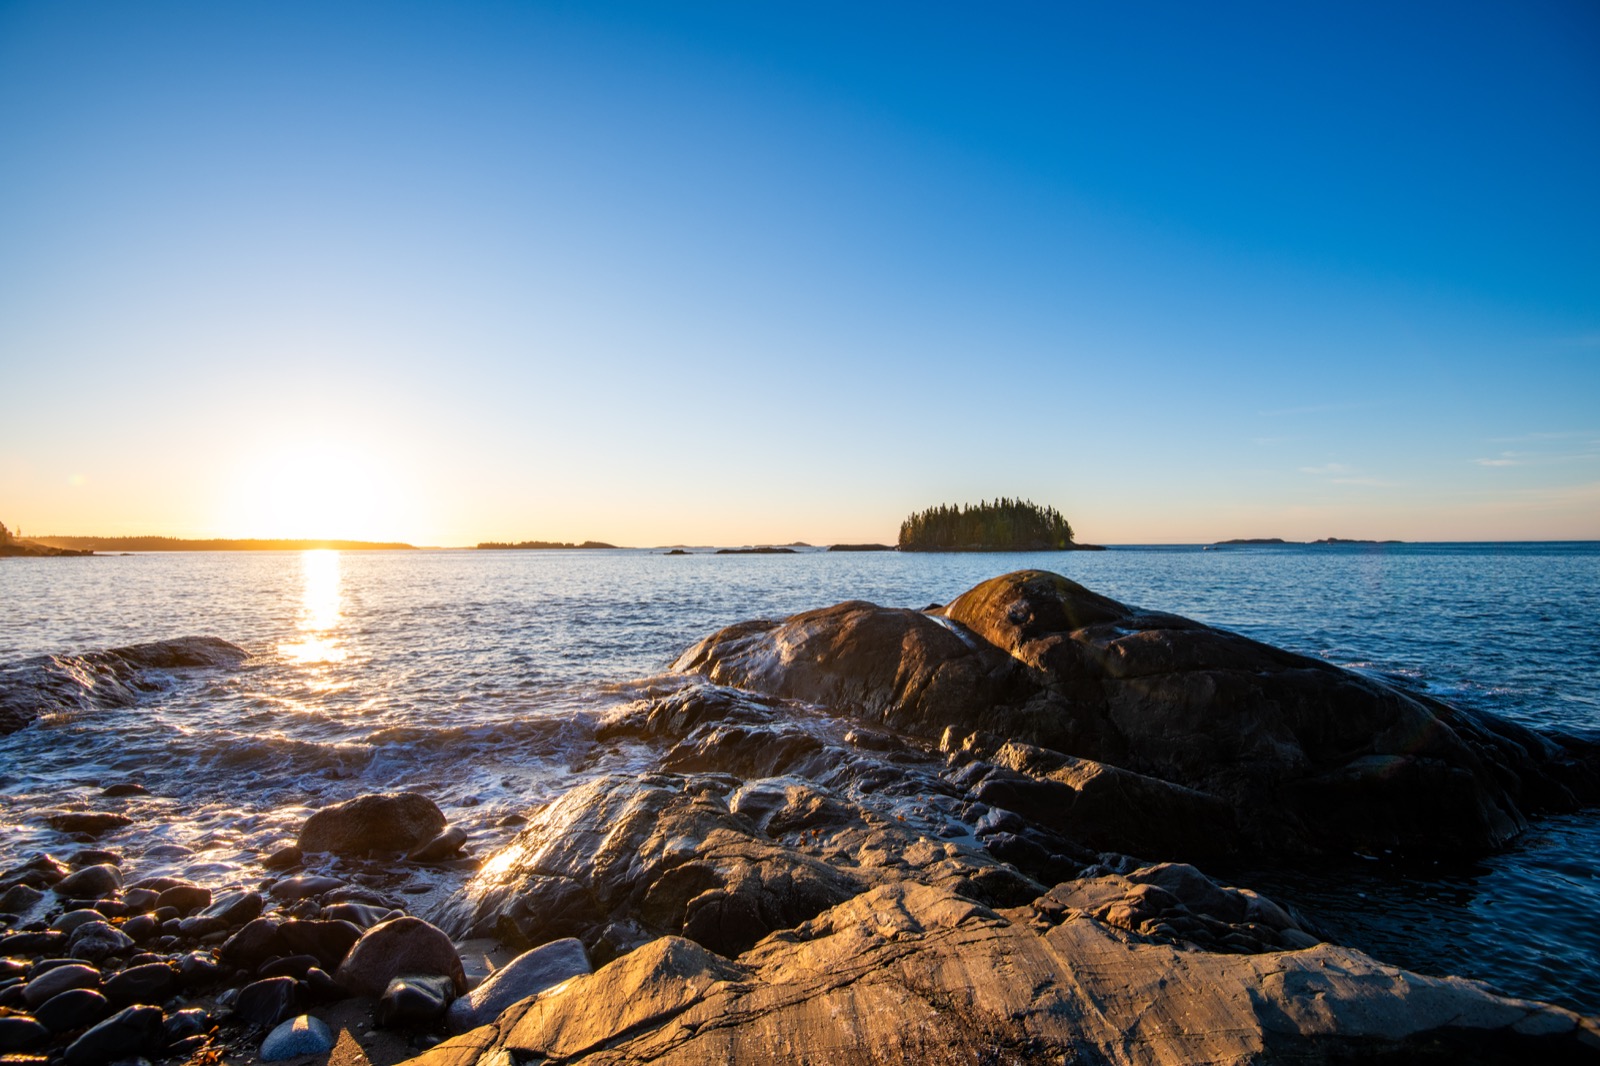
Image ID: 1017 - Roque Bluffs, Maine - October 2025

Blueberry Field
Image ID: 1016 - Maine – October 2025

Head Harbour Lightstation
est. 1829
Image ID: 1012 - Campobello Island, New Brunswick, Canada
October 2025

Mulholland Point Lighthouse
Image ID: 1011 - Campobello Island, New Brunswick, Canada
October 2025

Lobster Trap Buoys
Image ID: 1010 - Roque Bluffs, Maine - October 2025

Sunset over Cadillac Mountain
Image ID: 1009 - Viewed from Schoodic Point
Acadia National Park, Maine – October 2025

Great Blue Heron
Image ID: 1005 - Roque Bluffs, Maine - October 2025
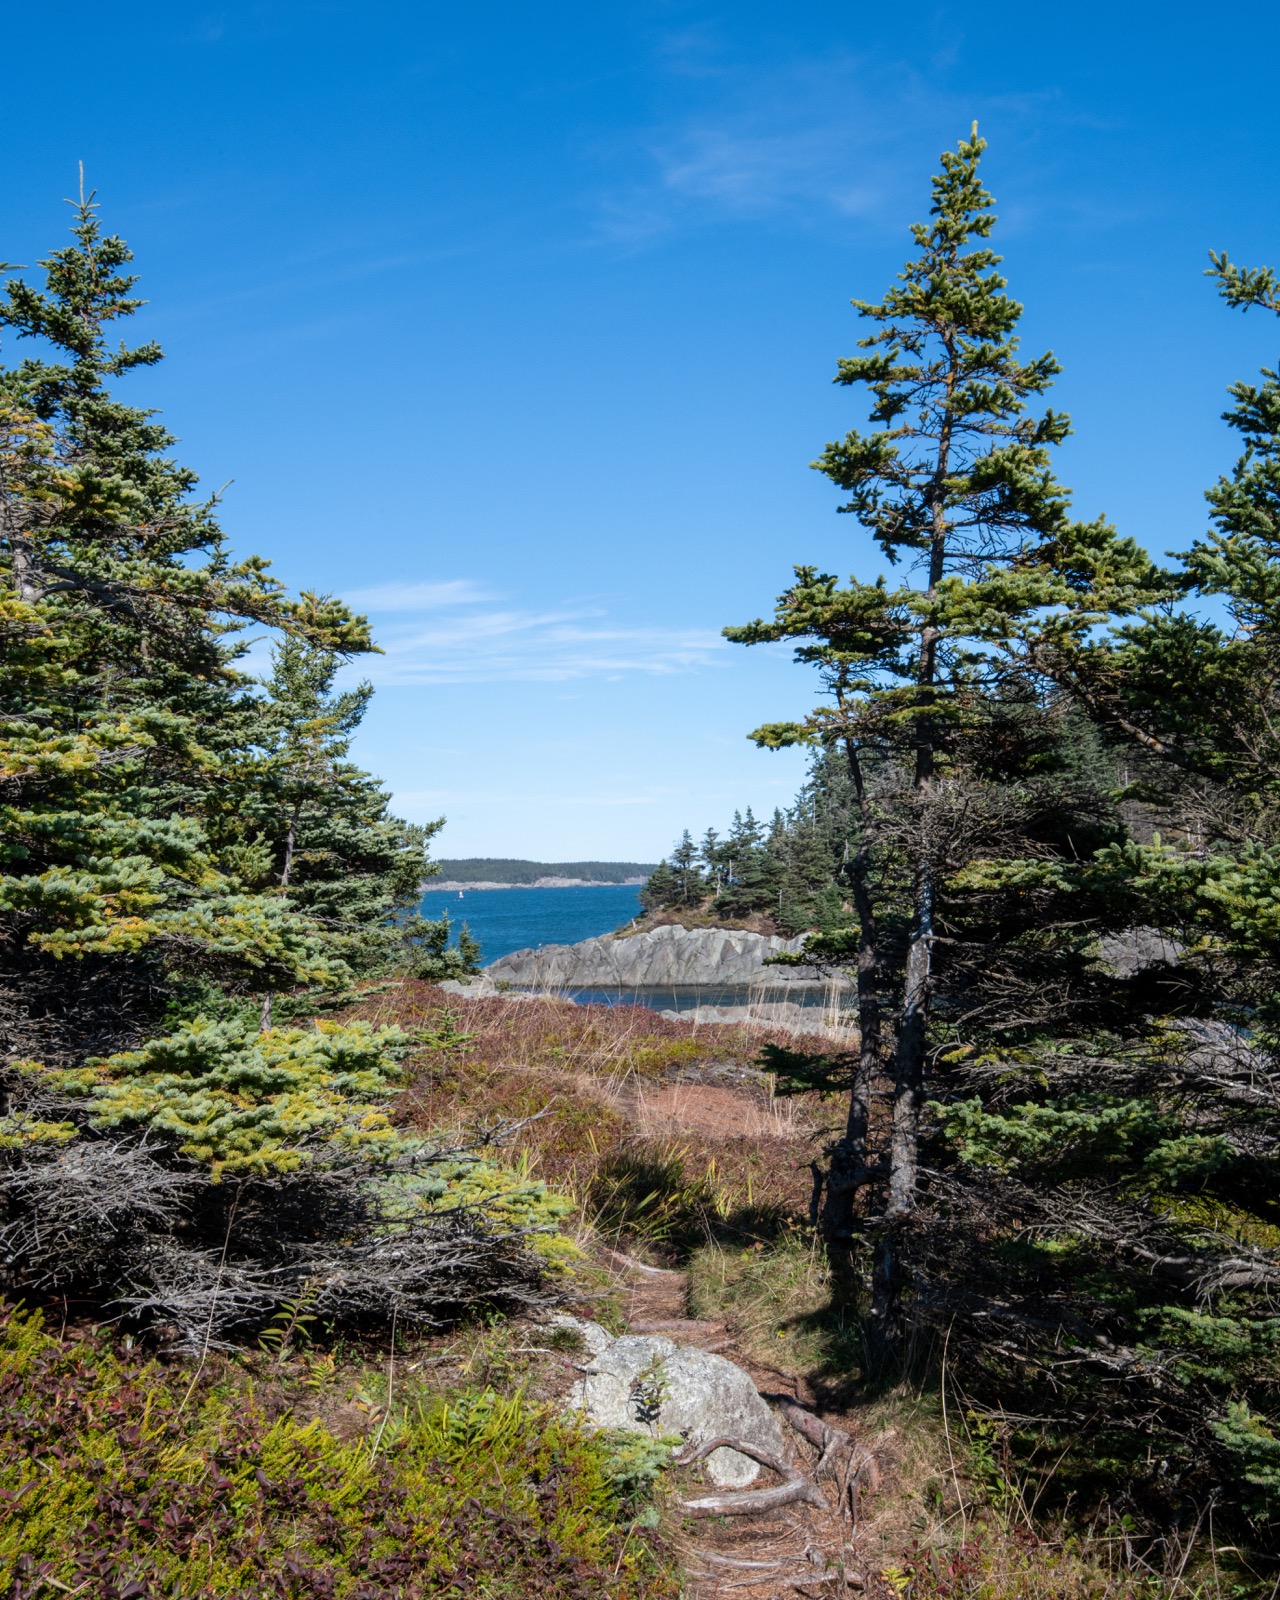
Image ID: 1002 - Western Head Preserve Trail- Cutler, Maine - October 2025

Lobster Boat
Image ID: 997 - Western Head Preserve - Cutler, Maine

Rogue Wave
Image ID: 985 - Chesapeake Bay, Va Beach, VA - September 2025
.")
Seagulls feeding on bugs mid-air (Aerial Hawking).
Image ID: 936 - Chesapeake Bay - Virginia Beach, VA
9-2025
. The black spot is his dinner.")
Seagulls feeding on bugs mid-air (Aerial Hawking). The black spot is his dinner.
Image ID: 935 - Chesapeake Bay - Virginia Beach, VA
9-2025

Dolphin Tail
Image ID: 869 - Chesapeake Bay Virginia Beach, VA 8-28-2025

Dolphins in the Bay
Image ID: 868 - Chesapeake Bay Virginia Beach, VA 8-28-2025
 with Dinner")
Osprey (Fish Hawk) with Dinner
Image ID: 866 - Chesapeake Bay Virginia Beach, VA 8-28-2025

Dockside Sunset
Image ID: 804 - Dockside Restaurant Virginia Beach, VA - Jan 2025

56 Chevy Bel Air
Image ID: 794 - Richmond, VA

Old Flagler Railroad/Bahia Honda Bridge
Image ID: 777 - The Bahia Honda Rail Bridge is a derelict railroad bridge in the lower Florida Keys connecting Bahia Honda Key with Spanish Harbor Key. Taken October 2007

Key Tree
Image ID: 775 - Mangrove tree growing around the coral formations near the old Flagler Railroad/Bahia Honda Bridge.
Spanish Harbor Key, FL - October 2007

The Key West/Cuba Telegraph Cable Hut
Image ID: 751 - The Hut protected the connection to the 125 mile long underwater telegraph cable lines linking Key West and Havana, Cuba. They can be seen coming out of the hut and disappearing under water. AT&T used them until 1987. Key West, FL 2008

Starlite Hotel
Image ID: 694 - South Beach - Miami Beach, FL

Sagamore Hotel
Image ID: 680 - South Beach - Miami Beach, FL

Shelborne
Image ID: 677 - South Beach - Miami Beach, FL

Colony Hotel - Ocean Drive
Image ID: 674 - South Beach - Miami Beach, FL

Key West Lighthouse Steps
Image ID: 648 - Key West, FL 2007
")
Northern lights (Aurora Borealis)
Image ID: 586 - Cape Story Beach - Virginia Beach, VA October 10, 2024

Anhinga, AKA Snakebird and Babies
Image ID: 583 - Hilton Head, SC - May 2025

Alligator
Image ID: 580 - Hilton Head, SC - May 2025

Great Blue Heron
Image ID: 577 - Hilton Head, SC - May 2025

Grand Canyon National Park
Image ID: 558 - January 2008

Grand Canyon National Park
Image ID: 555 - Great Mohave Wall Viewpoint - January 2008

Factors Walk
Image ID: 537 - Savannah, GA - April 2005

King Neptune
Image ID: 536 - Virginia Beach, VA

Old Flagler Railroad/Bahia Honda Bridge
Image ID: 529 - The Bahia Honda Rail Bridge is a derelict railroad bridge in the lower Florida Keys connecting Bahia Honda Key with Spanish Harbor Key.
West, Summerland Key, FL - Taken October 2007

Sun and Sand
Image ID: 517 - Sand mixing in with the orange sunset.
Chesapeake Bay Virginia beach, VA - July 2025
")
Comet C/2023 A3 (Tsuchinshan-ATLAS)
Image ID: 513 - Virginia Beach, VA - October 2024

Shore Drive Sunset - Chesapeake Bay
Image ID: 482 - Virginia Beach VA - Taken May 2025

Yellow-crowned Night-Heron
Image ID: 468 - Cape Story Beach Virginia Beach, VA

SS United States
Image ID: 467 - Mobile AL - Taken March 2025

SS United States
Image ID: 463 - Mobile AL - Taken March 2025

SS United States
Image ID: 460 - Mobile AL - Taken March 2025

Key West Sunset Celebration
Image ID: 447 - Key West, FL - March 2008

Bourbon Street
Image ID: 382 - New Orleans LA - April 2025

Michelle The Statue
Image ID: 132 - Michelle is located behind Cafe Du Monde near Dutch Alley.
October 2006
New Orleans LA - October 2006

Fred the Tree - The Keys FL
Image ID: 130 - The Keys' iconic Fred is a salt-sprayed Casuarina, or Australian pine tree. He's growing out of the roadbed of the historic Old Seven Mile Bridge. Taken 10 2007

The Bahia Honda Rail Bridge
Image ID: 125 - The Bahia Honda Rail Bridge is a derelict railroad bridge in the lower Florida Keys connecting Bahia Honda Key with Spanish Harbor Key. Taken October 2007

SS United States
Image ID: 121 - Taken March 2025 - Mobile AL

Dockside Sunset
Image ID: 119 - Dockside Restaurant Virginia Beach, VA - Jan 2025

Foggy Shore Drive Beach
Image ID: 111 - Virginia Beach, VA

Brown Pelican & Double-crested Cormorant
Image ID: 110 - Rudee Inlet, 1st Street Jetty - Virginia Beach, VA

Driftwood Beach
Image ID: 108 - Jekyll Island, GA - April 2025

Currituck Beach Lighthouse
Image ID: 106 - Currituck Beach Corolla, North Carolina

45th Street Illegal Fireworks Show
Image ID: 102 - 45th Street, South Side - Virginia Beach, VA - July 4th 2025